Wednesday, February 13, 2013

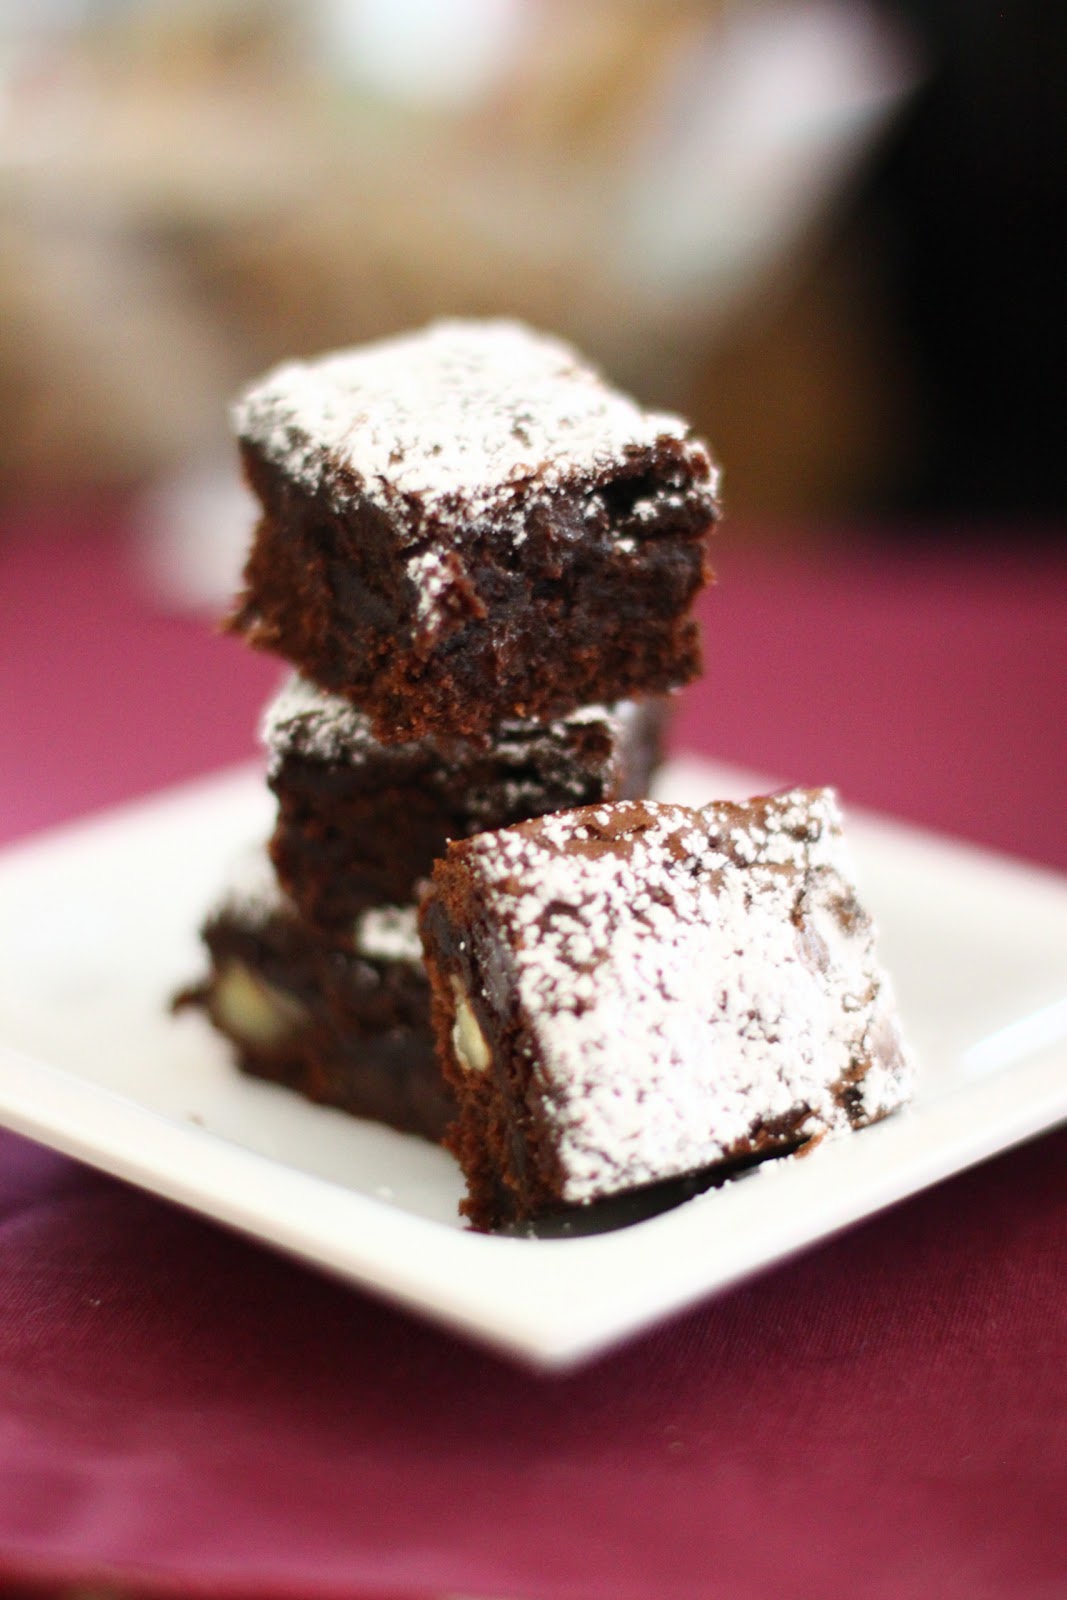
Chocolate Brownies....Nuts Optional

A couple weeks ago, the husband and I were invited to a super bowl party. It was a pot luck style, so everyone was welcome to bring something to the party. I decided to make a spinach dip as well as some brownies.

The brownies turned out very moist and pretty good. The original recipe did not ask for nuts or extra chocolate chip, which I added for some extra texture. Here's the recipe for the chocolate brownie adapted from www.chow.com.

CHOCOLATE BROWNIE RECIPE
*Makes a 8x8 pan

Ingredients

  • 6 Oz Semisweet Chocolate Chip
  • 8 Tbsp Unsalted Butter
  • 2 Large Eggs, at Room Temperature
  • 1 Cup Granulated Sugar
  • 1 Tbsp Unsweetened Cocoa Powder
  • 1 Tsp Vanilla Extract
  • 1 Tbsp Brewed Espresso
  • 1/4 Tsp Salt
  • 1 Cup All Purpose Flour
  • 1/4 Cup Pecans, Chopped (Optional)
  • 1/4 Cup Semisweet Chocolate Chip (Optional)
  • 1 Tbsp Powdered Sugar (Optional, for dusting)
Method
Preheat oven to 350F and arrange a rack in the middle. Line an 8 x 8 glass baking dish with aluminum foil (or if you use those disposable ones, that would be easier).

Combine the chocolate and butter in a medium saucepan and cook over medium low heat, stirring frequently until mixture is evenly melted. Remove from heat and let cool to room temperature.

Combine the eggs, sugar, cocoa powder, vanilla, espresso and salt in a large bowl and briefly stir until just evenly incorporated. Add the cooled chocolate mixture into the egg mixture and stir to combine. Fold in flour until just incorporated (no white steaks should remain). Gently fold in the optional pecans and additional chocolate chips. 

Transfer the batter to the prepared baking dish and for about 25-30 minutes or until it passes the toothpick test (Insert a toothpick into the center of the brownies and once it comes out clean; it's ready!). Remove from the oven and let cool completely before cutting. Dust with optional powdered sugar before serving.

June's Notes: I cut my brownie into a "1- bite" size; and got about 36 "1-bite" size pieces from this batch. 

Enjoy! 

Simply June 

Tuesday, February 12, 2013

Bak Kwa (Asian Pork Jerky)

Updated Sept 26, 2013

Bak Kwa (Asian Pork Jerky) is a very popular snack during Chinese New Year. In Malaysia, the bak kwa shops will be fully packed with customers lining up and paying quite a bit of money for this delicious seasoned smoked meat, quite similar to the American Beef Jerky.... but so much better and flavorful!

In the US, it's almost impossible to get this snack here and many of us have resorted to making our own bak kwas to satisfy the cravings. I've made this snack many years ago and have not made it for many years. So, I decided to make it this year again and give my friends and neighbors a treat during our Chinese New Year potluck lunch. I must say, the bak kwa was a big hit with our guests. 2 lbs of bak kwas seemed so little and I could have definitely made more.

Knowing that my guests would appreciate this snack, I made it at night the day before (after coming home late from a wonderful dinner at Providence and was quite tired) as I knew there'll be no way I have the time to make it in the morning of our CNY lunch. I was totally right, as I was scrambling the whole morning till my guests arrived. Anyway, I baked the bak kwas the night before and the husband put it on the grill the morning off the party. I'm glad I stayed up and slaved over making bak kwas as it definitely put a lot of smiles on a lot of faces on Sunday! Here's the recipe.


BAK KWA (ASIAN PORK JERKY) RECIPE

Meat Ingredients
  • 2 Lb Ground Pork (Not too lean - Around 20% fat)
  • 2 Tbsp Fish Sauce
  • 2 Tbsp Rice Wine
  • 1 Cup Sugar
  • 2 Tbsp Dark Soy Sauce
  • 2 Tbsp Light Soy Sauce
  • 1 Tbsp Oyster Sauce
  • A few Dashes of black pepper
  • 1 Tsp 5 Spice Powder
  • 1 Tbsp Vegetable Oil
Glaze Ingredients
  • 1 Tbsp Honey
  • 2 Tbsp Water

Method
Preheat oven at 325F. Add all the ingredients into a mixing bowl and beat (using a stand mixer; paddle attachment) ingredients until mushy and "gluey". Line baking pans with foil paper (if using foil paper; lightly spray with some baking spray) or oven safe silicon pads; this is for easy cleanup. Scoop about 1/2 Cup of pork mixture and place in the middle of the baking pan (half sheet size). Place a piece of plastic wrap (the size of the baking pan) on top of the meat mixture. With a rolling pin, roll the meat mixture flat until desired thickness then remove the plastic wrap and let the mixture bake in the preheated oven for 15 minutes. The meat will look like a rubber mat once it's cooked. Remove and cut to desired size and repeat the process again until all the meat mixture is used up. Set aside the baked meat.

Mix the glaze ingredients together and lightly glaze the meat before putting them over a charcoal grill for a few seconds and turn them occasionally to give them the smokey bak kwa flavor. Alternatively, you can use a gas grill, or even pan fry it if you do not have a charcoal grill. Please note that the bak kwa will lack a bit of the smokey flavor by doing so.

June's Notes: When rolling the meat mixture, DO NOT roll it out too thin (i.e. until it's almost translucent) as you may have problems removing it from the foil. Use a cake spatula to help remove the cooked bak kwa from the pan. 

As the bak kwa has quite a bit of sugar in it, it will burn easily on the grill. So, it's important to make sure the fire is very low and keep a close eye on the bak kwa to prevent them from being burnt! Let the edges caramelized a little if you want! Gas grill should be ok, but I don't think it will give you the smokey flavor. 

Enjoy!

I am submitting this post to Chinese New Year Delights 2013


Simply June 

Monday, February 11, 2013

Pineapple Rolls

I finally purchased a grooved rolling pin last year and it surely made my life easier this time when I made the Pineapple Rolls. Why didn't I buy the rolling pin sooner??  =) Anyway, I made a couple batches of these so that I have plenty to send to my brother and to share with our close friends. 

Check out the recipe for the Pineapple Rolls HERE.


Simply June 

Saturday, February 9, 2013

Gong Xi Fa Cai!


Here's wishing you a Happy Chinese New Year! Gong Xi Fa Cai!

Simply June 

Thursday, January 31, 2013

Honey Cornflakes Cup

After several months of hiatus (again), I'm back! We've been busy with travel (took a trip to India!) and family and friends visiting and I got a little lazy in between, the past few months. These days, I'm busy baking for Chinese New Year, a ritual I try to do every new year so that the husband and I and some of our friends get to snack on CNY cookies. And of course, my brother will also receive a care package of homemade cookies from me. =)

Anyway, I got a couple request for the recipe of one of the cookies I made; Honey Cornflake Cups. I've tasted them before but never thought to make it myself. But since, I had a big bag of cornflakes leftover from making the cornflake cookies, I decided to whip up a batch of these cute yummy stuff. I adapted the recipe from Charlene, made a few tweaks and I love the results and the simplicity of the recipe!  Here's the recipe if you want to make some for Chinese New Year or just for fun!


HONEY CORNFLAKES CUP RECIPE
*Makes about 70-80 super mini cups

Ingredients
  • 90g Butter
  • 2 Tbsp Granulated Sugar
  • 2 Tbsp Honey
  • 4 Cups Cornflakes, Slightly Crushed
  • 3-4 Tbsp Almond Flakes, Toasted
  • 1 Tbsp Sesame Seeds, Toasted
Method
Place the empty baking cups on a baking sheet. Preheat oven to 325F. In a pot, melt butter, sugar and honey over medium heat. Once the mixture is bubbly, turn off the heat and stir in cornflakes, almond and sesame seeds. Coat the mixture well and spoon cornflakes mixture into the mini cups. Bake the mini cups for about 12 minutes until the cornflakes are golden brown. Let the cups cool (the cornflakes will stick together when it's cool) and enjoy.

I am submitting this post to Chinese New Year Delights 2013

Simply June 
Related Posts with Thumbnails